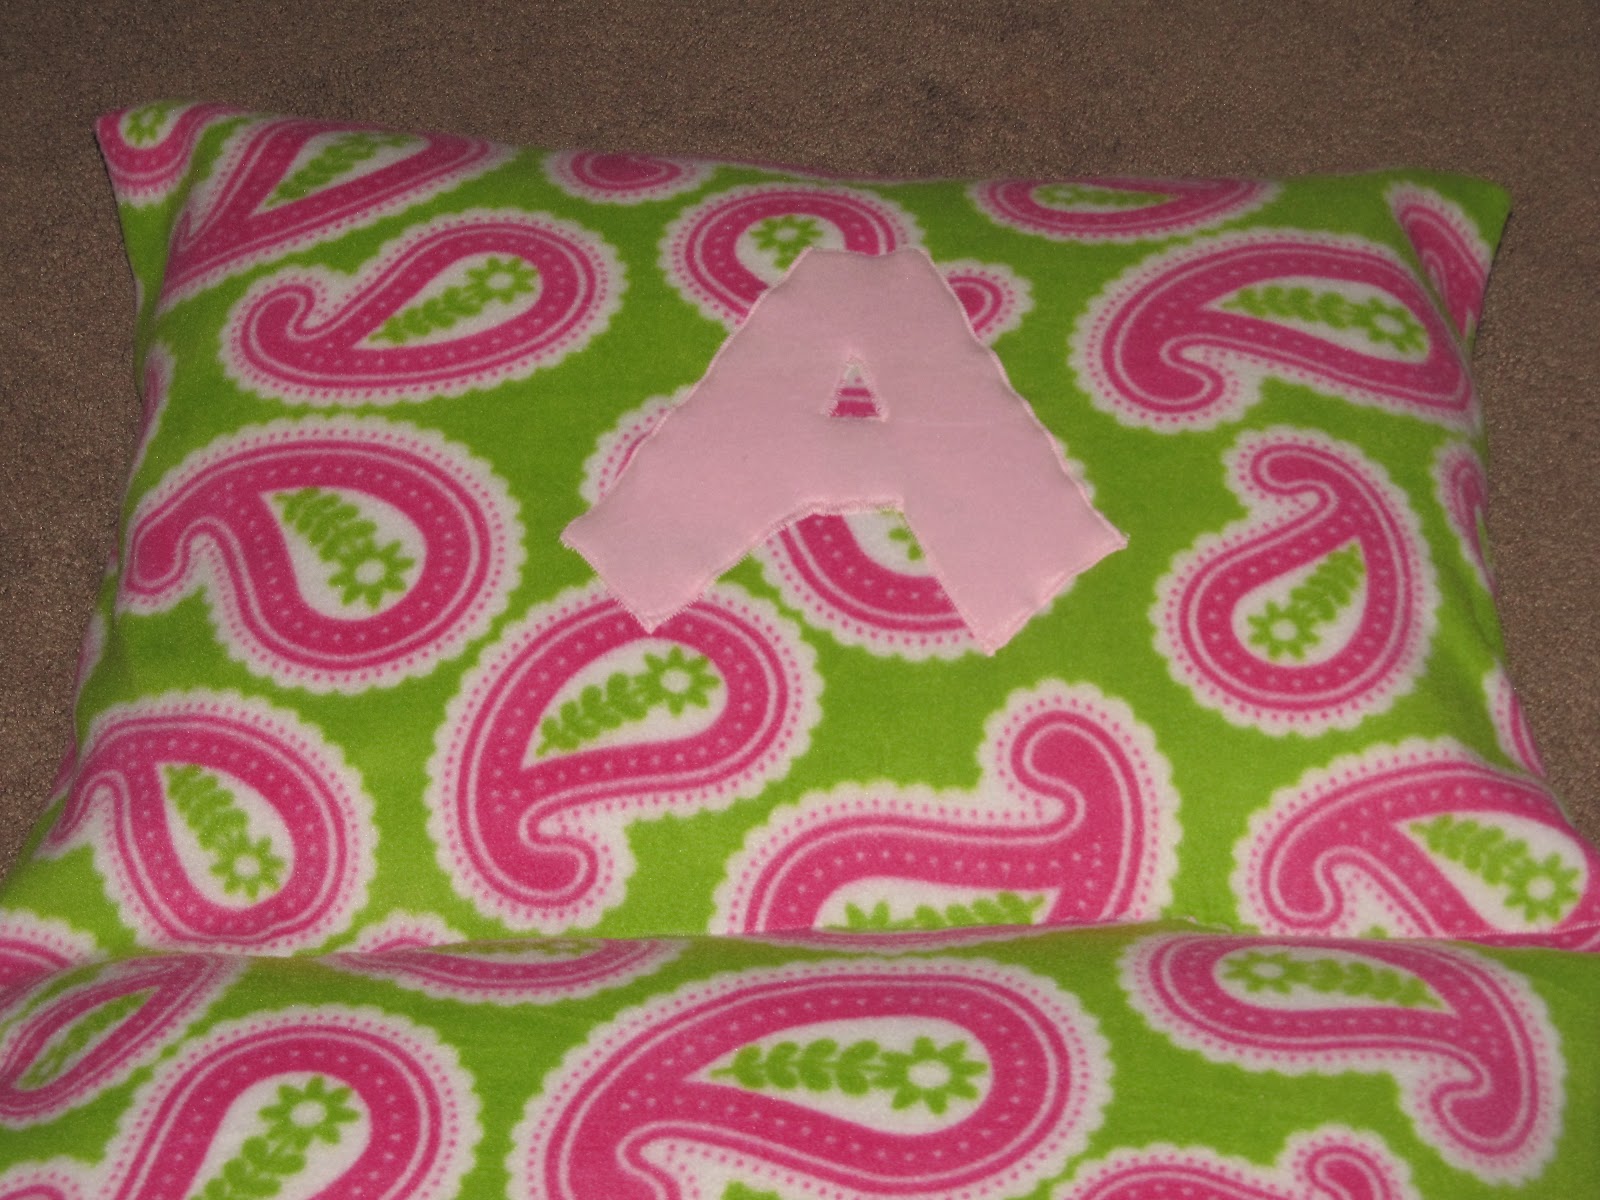
In order to distract myself from the fact the Hubs finally left back overseas, I dove headfirst into my projects! A few months ago, I found a tutorial on Pinterest to make a pillowcase mattress. I just *had* to make one for Little Miss. It was a good tutorial, though I still managed to flub it up a bit. But I loved the end result so much, I knew these would make for perfect gifts.
So 2 days ago I started gathering my supplies and looked back online for the tutorial...and its gone!! I was frantic, then my husband looks at me (like I have lost my mind) and says, "Quit nuking it Shannon, just wrap the material around the pillows." That man is a genius, but don't tell him I told you that though. I came up with this tutorial and I had to share it with everyone, I am so proud of myself!
Supplies:
3 yards of material
4 pillows
sewing supplies
First, make sure you wash the fabric. You don't this to shrink after you've sewn it all together.
Next, lay out your pillows on the fabric. I placed mine slightly off center.
Then I folded over one side of the pillows, then the other.
I left about 3 inches of fabric above and below the pillows, then I cut off the excess fabric from the bottom.
I pinned over the long sides of the fabric so I could hem.
After sewing up both sides, I laid out the fabric BUT WITH THE WRONG SIDE OUT and put the pillows in. Then I folded over both sides again.
 |
| Fabric is wrong side out, one side folded over |
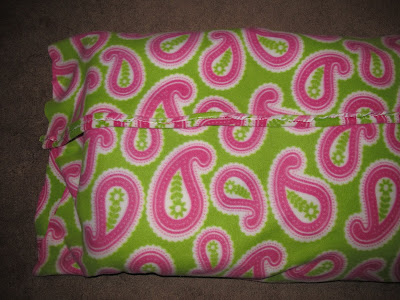 |
| Fabric is wrong side out and folded over the pillows |
I pinned the fabric on the top together, then did the same for the bottom.
 |
| Fabric is inside out and the short sides (top & bottom) are pinned |
After sewing the top & bottom, then you turn the fabric right sides out.
 |
| Turning the fabric to right sides out |
I put the pillows on the fabric again to make sure it all still fit (it does HOORAY!)
Time to create the pockets for the pillows. Measure the length of your fabric. Mine was 72 inches long. Now divide that number by 4, which gave me 18. So every 18 inches I drew a line and pinned to make a place for the pillows. You end up with 3 rows of pins.
 |
| One row of pins |
 |
| 3 rows of pins (you may have to squint to see lol) |
After you sew along the 3 rows to make the pockets for the pillows YOU ARE FINISHED!
Wasn't that easy? Now its time to enjoy your pillowcase mattress. Let Little Miss show you how:
I am so proud how the back of the mattress turned out, see its a straight line!!
Then I went a little crazy. I decided to add a bit of personalization to it.
Did I mention this is a birthday gift for one of Little Miss's friends? I bet you'll never guess what letter her name begins with...
In case you choose to add a monogram letter, I would suggest doing this BEFORE you create the pockets for the pillows.
All folded up and ready to give to the birthday girl!
This project wasn't expensive at all. For my fabric, I used no-pill fleece which was 50% off at Joanne's this week. The pillows I bought for $2.50 a piece at WalMart. Plus, this was very easy to make. As long as you can sew straight lines (or mostly straight) you are good to go!